If you enjoy building things yourself, chances are you’ve thought about assembling your own solar power system when you need backup power.
Put simply, making your own solar system means purchasing solar panels, batteries, an inverter, and a charge controller yourself, then designing, wiring, and testing the system on your own. The key difference from buying a ready-made system is who decides how the system is configured, who connects the wires, and who takes responsibility when something goes wrong.
A ready-made system is all about convenience. The manufacturer has already matched the components and specifications, an authorized installer handles the installation, and you turn to after-sales support if something goes wrong. A DIY system, on the other hand, gives you control. You can configure it around your needs, save money according to your budget, and modify it as you see fit—but only if you understand how it works, know which specifications need to match, and recognize which wiring mistakes could cause problems.
So, let’s walk through the key decisions involved in building a DIY solar power system, from assessing your needs and choosing an architecture to matching power requirements and selecting an installation approach.
Why Make Your Own Solar System?
There are usually three reasons to make your own solar system: saving money, having control, and wanting to understand how it actually works.
Saving money is the most obvious motivation. When you buy a ready-made solar system, what you pay for includes the cost of the equipment, the brand premium, the installer’s profit and labor costs, and the cost of after-sales support. DIY lets you cut out all of these later costs: you buy the equipment yourself, do the work yourself, and fix it yourself when something goes wrong.
Having control is another important reason. Ready-made systems are sold in standard configurations, such as 5kW paired with 10kWh or 10kW paired with 20kWh, but everyone’s electricity needs are different. Some people are away from home during the day and use most of their electricity at night; some have fish tanks, security systems, or medical equipment that need continuous power; others simply want to keep their refrigerator and internet running during an outage. A standard package may not perfectly match your needs. With a DIY system, you can decide how many panels to install, how large the battery should be, and what type of inverter to choose, based on your actual needs instead of paying for features you will never use.
The third reason is less obvious, but equally important to some people: you want to truly understand how the system works. Once a ready-made system is installed, it is essentially a black box for most users. Where the electricity comes from, how it is stored, and when it is discharged are all reduced to a few numbers in an app. When you build one yourself, you work through every stage, from the solar panels and controller to the battery and inverter, and get hands-on experience with voltage, current, and power conversion at each step. If a minor problem comes up later, you will have a better idea of where to start troubleshooting instead of having to wait for someone to come out every time.
Of course, there are situations where DIY may not be worth it. If your time is expensive, your roof has complex conditions, or your local area has strict licensing requirements for electrical installation, buying a ready-made system may actually be the more convenient option.
Decide What You Want Your Solar System to Do
Before you start building, ask yourself one question: What exactly do you want this system to do? It may sound basic, but many people skip this step and go straight to buying equipment, only to realize halfway through that they are heading in the wrong direction. Different uses require completely different system architectures, equipment choices, and budget allocations. Your needs determine the architecture, and the architecture determines the equipment. Once you are clear about the purpose, every step that follows has a basis. Based on actual use cases, DIY solar systems can generally be divided into four categories:
The first: Grid-tied systems for reducing electricity bills
If your goal is to lower your electricity bill by selling excess daytime solar power back to the grid or using it yourself, you may not need a battery at all, or only a small one for backup. The core equipment is solar panels and a grid-tied inverter. The requirement is that your home has access to the grid and that local regulations allow grid interconnection. If you live in an area with reliable grid access and simply want to reduce your electricity bill, this is the simplest and lowest-cost option.
The second: Backup power for outages
If your goal is to keep your home powered when the grid goes down, the system needs a battery, and the inverter must support off-grid output and automatic transfer. The battery does not need to cover the entire house; keeping the refrigerator, router, lights, and phone charging running through the night may be enough. If outages are uncommon but do happen occasionally in your area, this configuration offers the best value.
The third: Completely off-grid
If your home has no access to the grid, or you deliberately choose to live independently of it, the system needs sufficiently large batteries and solar panels, along with additional reserve capacity for consecutive cloudy or rainy days. This is the most complex and expensive option, and it also places the greatest demands on system design and calculations.
The fourth: Mobile or temporary power
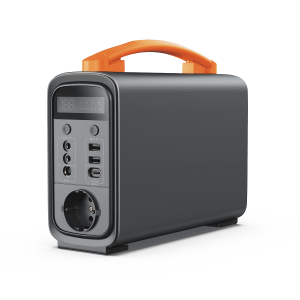
RV travel, camping, temporary power on construction sites, tailgating, and outdoor work may require a portable system that can be quickly set up or taken apart. Capacity and power should be determined based on the specific equipment you need to run. These systems generally do not involve building permits, giving you greater flexibility.
Choose the Right Solar System Architecture
Once you have defined your needs, the next step is to choose the right architecture. The architecture of a solar system determines how electricity flows, how the equipment is connected, and how easily the system can be expanded later. There are three common architectures in DIY projects, and choosing the wrong one can make wiring and troubleshooting much more complicated later.
The first: DC-coupled
The DC electricity generated by the solar panels first passes through a charge controller and is stored in the battery, then goes from the battery through an inverter and is converted into AC power for use in the home. This is the most traditional off-grid architecture and one of the most common approaches for DIY projects.
The advantages are a simple structure, mature equipment, and straightforward matching between the controller and battery. The downside is that it involves an additional conversion loss (DC → battery → DC → AC), resulting in slightly lower overall efficiency. If you are building a completely off-grid system, or have a limited budget and prioritize simplicity and reliability, DC coupling is the preferred choice.
The second: AC-coupled
The electricity generated by the solar panels first passes through a grid-tied inverter and is converted into AC power for direct use in the home, while excess electricity is then stored in the battery through a battery inverter. This architecture is suitable for homes that already have a grid-tied solar system and want to add battery storage later.
The advantage is that it is easier to expand without modifying the existing grid-tied solar system. The downside is that it requires more equipment, costs more, and requires additional control logic to coordinate the solar and storage systems. If you already have solar panels installed and simply want to add a battery, AC coupling is the easiest path.
The third: Hybrid architecture
A hybrid inverter manages the solar panels, battery, and grid at the same time. Electricity generated by the solar panels can be used directly by the loads, stored in the battery, or sent to the grid, with the system automatically switching between these three paths through a single device. This is the most complex but also the most capable option for a DIY project.
The advantages are a high level of integration, good expandability, and precise control. The disadvantages are higher equipment costs and greater demands on installation and commissioning. If you want a system that can reduce your electricity bill, provide backup power during outages, and allow you to add equipment later, a hybrid architecture is the most comprehensive option in the long run.
If you are building an off-grid system from scratch, DC coupling is the most straightforward choice. If you already have a grid-tied solar system and want to add a battery, AC coupling requires the fewest changes. If you want one system to handle both grid-connected energy savings and backup power, a hybrid architecture offers the most comprehensive functionality.
Build the Solar System Around Energy Flow
Once the architecture is decided, the next step is to follow the flow of electricity and place each component in the right position. The energy flow in a solar system follows one main path: solar panels → charge controller → battery → inverter → household loads. The role and installation order of each component revolve around this flow.
Step 1: Solar Panels to Charge Controller
Solar panels are the starting point of the entire system. Multiple panels are connected in series or parallel and then connected to the charge controller through cables. The controller performs two functions at this stage: first, it regulates the variable DC output from the solar panels to a voltage and current suitable for charging the battery; second, it uses MPPT technology to track the panels’ maximum power point and convert as much available sunlight into electricity as possible.
Pay attention to two numbers when buying solar panels: open-circuit voltage (Voc) and maximum power voltage (Vmp). The total open-circuit voltage of panels connected in series must not exceed the controller’s maximum input voltage, otherwise the controller could be damaged. The total panel power must also stay within the controller’s rated input range.
Wiring note: The total voltage of solar panels connected in series must not exceed the controller’s maximum input voltage, otherwise the controller could be damaged. The number of parallel strings determines the total current, so make sure the controller’s rated input current can handle it.
Step 2: Charge Controller to Battery
The DC power from the controller enters the battery bank and charges it. A battery bank typically consists of multiple cells connected in series or parallel and is equipped with a BMS to manage the condition of each cell. The BMS monitors voltage, temperature, and current to prevent overcharging, over-discharging, and short circuits. If the battery pack is assembled as a DIY project, the BMS wiring must strictly follow its specifications. Connecting the sense wires in the wrong order or leaving balance wires disconnected can cause the BMS to malfunction or even become damaged.
Pay attention when buying a charge controller: The maximum input voltage should be higher than the open-circuit voltage of the solar panels connected in series; the output current should match the battery’s charging capability; and lithium iron phosphate batteries are generally preferable, although their charging profiles are different.
Wiring note: The cable gauge between the battery and charge controller should be selected based on the maximum charging current. Insufficient cable size can cause overheating and voltage drop, reducing charging efficiency.
Step 3: Battery to Inverter
The DC electricity stored in the battery needs to pass through an inverter and be converted into AC power before it can be used by household appliances. The inverter’s input terminals connect to the positive and negative terminals of the battery, while its output connects to the home’s electrical panel or directly to the loads. In a hybrid system, the inverter also connects to the solar panels and the grid, managing the flow between the three energy sources automatically.
Pay attention when buying an inverter: The rated output power should be greater than the combined power of all devices running at the same time; the peak power should exceed the starting power of the largest motor-driven appliance; and the input voltage should match the battery system voltage.
Wiring note: The DC cables on the inverter input side carry the highest current in the entire energy flow, so the cable gauge must be selected based on the inverter’s maximum input current, with a fuse or circuit breaker installed for overcurrent protection. The AC cables on the inverter output side should be sized according to the total load power.
Step 4: Inverter to Loads
The AC power from the inverter is distributed to individual circuits through the electrical panel or connected directly to appliances through extension cords. In an off-grid system, this is the end of the energy flow. In a grid-connected system, another output from the inverter is connected to the grid, with a bidirectional meter used to measure electricity flow.
Pay attention when buying cables and fuses: The cable’s ampacity should be greater than the maximum operating current; the fuse should be slightly higher than the maximum operating current but lower than the cable’s ampacity; and the cable terminals should match the cable gauge.
When wiring the system in practice, it is recommended to work from lower-voltage components to higher-voltage components. First connect the low-voltage DC sections between the battery, charge controller, and inverter and confirm that everything is correct. Then connect the high-voltage DC input from the solar panels, and finally connect the AC output from the inverter. Before powering on, use a multimeter to measure the voltage and polarity of each section, making sure there are no short circuits or reversed connections. Do not connect everything at once and then power up the system.
Size the Solar System Around Your Energy Needs
Step 1: Calculate Your Average Daily Energy Consumption
Determine which devices you plan to power with the system and how many hours you use them each day. Multiply each device’s power consumption by its operating time, then add them together to get your daily energy consumption. For refrigerators, account for the compressor’s intermittent operation (about one-third of the time), while routers, lighting, and phone charging should be calculated based on their actual hours of use.
For example: refrigerator 150W × 8h = 1,200Wh, router 20W × 24h = 480Wh, lighting 30W × 6h = 180Wh, phone charging 20W × 4h = 80Wh, for a total of about 1,940Wh per day. After accounting for inverter efficiency losses (about 15%), the actual requirement is about 2,280Wh.
Step 2: Work Backward From Energy Consumption to Battery Capacity
With average daily energy consumption of 2,280Wh, you also need to account for the depth of discharge (90%) of the lithium battery. The required nominal battery capacity is approximately 2,280 ÷ 0.9 ≈ 2,530Wh. In other words, a battery of 2.5kWh or more is needed to reliably cover one day’s energy needs. If you need two days of backup, the required battery capacity will need to be roughly doubled.
Step 3: Work Backward From Battery Capacity to Solar Panel Power
The solar panels need to generate at least enough electricity each day to cover your daily energy consumption. Divide your average daily energy consumption by the local peak sun hours (most areas can use 4–5 hours as a general estimate) to determine the required solar panel capacity. 2,280Wh ÷ 4.5h ≈ 507W. After accounting for dust, high temperatures, and wiring losses (about 20%), an actual configuration of 600W or more is recommended.
Step 4: Choose the Inverter Based on Load Power
Add up the power ratings of all devices that may run at the same time to determine the base load power. Then identify the highest-power motor-driven appliance and check its starting power. The inverter’s rated power should be greater than the base load power, while its peak power should be greater than the base load power plus the startup surge.
For example, if the refrigerator runs at 150W with a startup surge of about 750W, while the router uses 20W and the lights use 30W, the total running load is about 200W and the maximum startup surge is about 750W. In this case, an inverter rated at least 300W with a peak output of 1,000W or more should be sufficient.
What will a 5000 watt solar system run?
Here, a 5,000W solar system refers to a system with an inverter rated for 5,000W of output power. The question it answers is: How much power can the inverter supply to multiple appliances at the same time?
A 5kW system can cover the power requirements of most everyday household appliances. A refrigerator (150W) + microwave (1,000W) + rice cooker (700W) + lighting (100W) + TV (150W) + router (20W) = about 2,120W, which is well below 5,000W. Add a small air conditioner (800W running power), and the total is about 2,920W, which is still within the system’s capacity.
The following appliances are fine to run individually, but should not be used at the same time:
Tankless electric water heater (3,000–6,000W), central air conditioner (3,000–5,000W running power), electric floor heating (2,000–5,000W), and large electric oven (3,000W+). The running power of these appliances is already close to the 5,000W limit. Running one of them individually may be possible, but running two at the same time, or using one alongside other high-power appliances, could overload the system.
Choose How You Want to Build It
By this point, you have decided on the system architecture, listed the equipment you need, and worked out the required size. The final decision is: How do you actually want to build the system?
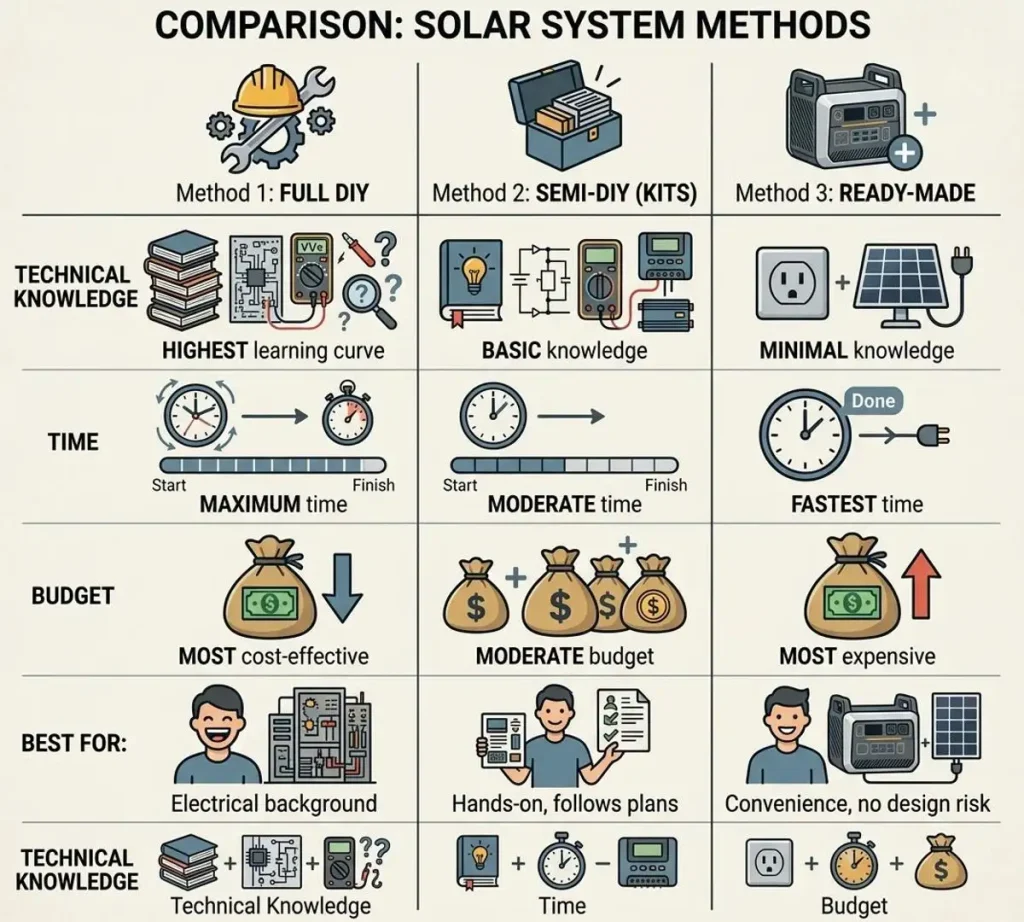
Not every DIY project starts from scratch. Depending on your technical skills, available time, and tolerance for risk, there are three approaches to choose from:
Method 1: Full DIY
Buy the solar panels, battery, inverter, charge controller, and all the necessary accessories yourself, then design the wiring, install everything, and commission the system on your own. This is the most cost-effective option, but it also has the highest learning curve. You need a basic understanding of electricity, be able to read wiring diagrams, know how to use a multimeter to measure voltage and current, and troubleshoot problems when something goes wrong.
Best for: People with an electrical or electronics background, strong hands-on skills, plenty of time, and an interest in building a system from the ground up.
Method 2: Semi-DIY
This approach means buying a kit and assembling it yourself. Some brands sell DIY solar kits that bundle solar panels, batteries, inverters, charge controllers, and cables with compatible specifications, along with wiring diagrams and installation instructions. You simply follow the instructions instead of designing the entire system architecture from scratch.
The main advantage of a kit is that it eliminates much of the hassle of matching specifications. The manufacturer has already checked the voltage, current, and connector compatibility. Assembly is much easier than the first approach, making it suitable for people with some hands-on experience who do not want to research the specifications of every individual component from scratch.
Method 3: Buy a Ready-Made System and Install It Yourself
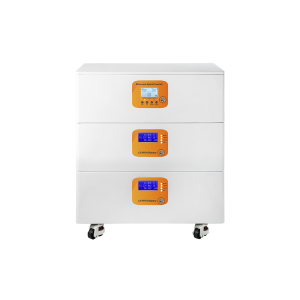
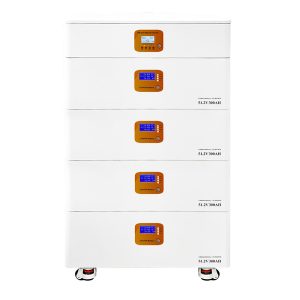
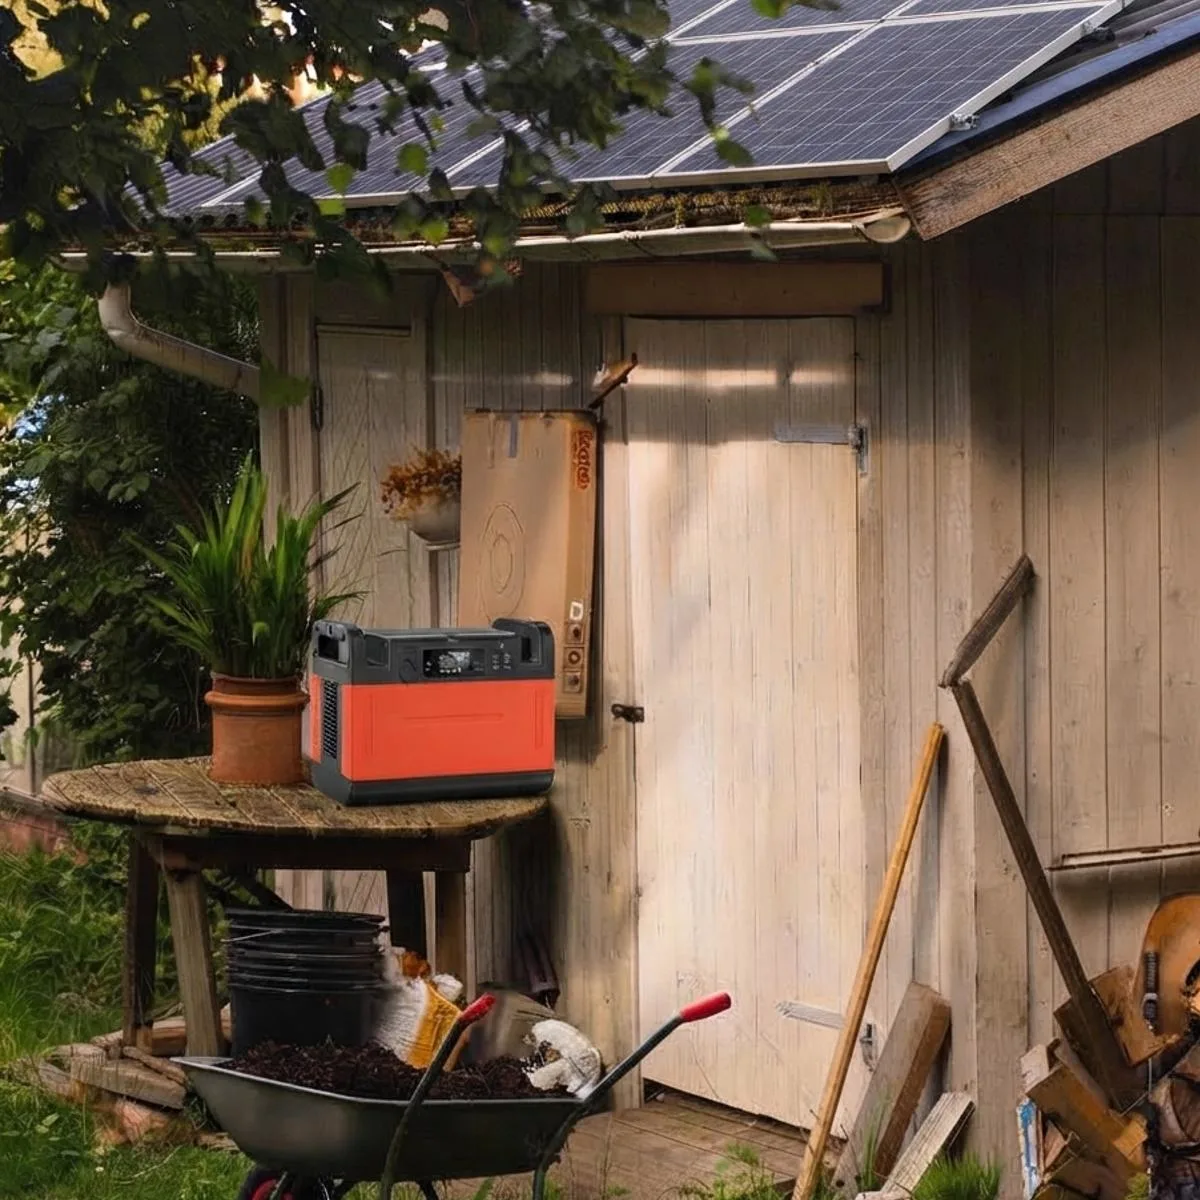
Buy an integrated system, such as a portable solar generator or home energy storage system, and connect the solar panels yourself, or pay an electrician to handle the installation. This is the most convenient option, but also the most expensive.
This approach is suitable if you do not want to deal with system design, adjust technical parameters, or take on the risks of wiring mistakes, but are willing to pay a little more for convenience.
If you decide to build a grid-tied system, or if the project involves rooftop work, electrical panel modifications, or grid interconnection approval, the installation and grid connection will likely need to be handled by a licensed electrician, regardless of whether you purchased the equipment yourself. Some areas even require grid-connected work to be performed by licensed professionals. Otherwise, you may not receive approval, and it could also affect your insurance coverage. So building your own system does not necessarily mean doing every part of the project yourself.
If you have an electrical background, are not in a hurry, and have a limited budget, go with full DIY. If you are interested but do not want to take unnecessary risks, buy a kit and assemble it according to the instructions. If you simply want to get the system up and running without the hassle, buy a ready-made system or hire an installer. There is no single right approach—only the one that best matches your actual situation.
When Should You Build Your Own Solar System?
Building your own solar system is not necessarily the most cost-effective option for everyone. In some situations, DIY can save you a significant amount of money. In others, you may end up spending even more time and effort fixing problems along the way.
DIY may be a good choice if:
- You have a basic electrical background or are willing to learn. You can read wiring diagrams, use a multimeter, understand the difference between series and parallel connections, and identify polarity and voltage ranges. You do not need to be an electrician, but you should at least know the difference between a fuse and a circuit breaker.
- You have plenty of time and enjoy working with your hands. DIY saves money, but it costs time. If you already enjoy spending your weekends building and tinkering with things, the process itself can be part of the reward.
- Your installation site is relatively straightforward. If you have a flat roof with good orientation, do not need to work at significant heights, do not need to modify the electrical panel, and do not require additional structural reinforcement, the DIY process becomes much easier.
DIY may not be a good choice if:
- The system needs to be connected to the grid. As soon as your system needs to connect to the utility grid, most areas require work to be performed by a licensed electrician and may require permits or inspections. Attempting the grid connection yourself could lead to failed inspections at best, and could affect your home insurance or electrical safety at worst. This is not something that can be solved simply by having good hands-on skills.
- You need to install solar panels on a sloped roof. If you have no experience with working at heights, the risk of falling can be serious. This is the kind of job that should be left to professionals.
- You need a large or highly complex system. Whole-home backup, three-phase electrical systems, multiple inverters operating in parallel, or deep integration with an existing electrical system can involve design and commissioning challenges far beyond the scope of a typical DIY project.
- You have neither the time nor the interest. If the entire process feels like a chore you simply have to deal with, it may be better to pay for the convenience of a professionally installed system. The time you save may be more valuable when spent on things you are better at.