
Many RV travelers run into situations where their batteries don’t have enough power. At a campsite, everything from the refrigerator and lights to phone chargers and fans relies on the battery. If there’s no shore power available, the battery can run low after just two or three days. Food in the refrigerator may start to thaw, and you may even find yourself limiting how often you turn on the lights at night. In situations like this, many RV owners think about using solar power to recharge their batteries. But can solar panels actually charge an RV battery? And if so, how much solar power do you need to fully recharge it?
How Does Solar Charging Work for an RV Battery?
The entire RV solar charging process is an energy chain that runs from the solar panels to the battery. If any component is missing or improperly configured, the efficiency of the entire system can drop significantly, or even lead to problems.
The energy chain starts with the solar panels. When sunlight hits the panels, photons knock electrons loose, generating direct current (DC) electricity, with electrons flowing in only one direction. However, this electricity cannot be used directly to charge the battery because its voltage fluctuates with sunlight intensity. It is lower in the morning and higher around noon, while the current is also unstable. If you connect the panels directly to the battery, the charging voltage and current the battery receives will fluctuate with the weather. This could lead to overcharging on sunny days or insufficient charging on cloudy days.
That’s why a solar charge controller is needed between the panels and the battery. Essentially, the controller takes the unstable electricity produced by the solar panels and regulates it into a stable form that the battery can safely accept. It first tracks the panels’ maximum power point to extract as much electricity as possible under current sunlight conditions. It then adjusts the charging voltage and current based on the battery’s current state, providing faster charging when needed and reducing the current as the battery approaches full capacity to prevent overcharging.
When you need to use electricity, the DC power stored in the battery can be converted into AC power through an inverter to run appliances in the RV, such as refrigerators, lights, and outlets. Alternatively, the battery can directly power DC devices, such as RV refrigerators, LED lights, and water pumps. If shore power or a generator is connected, the system will prioritize using the external power source, with solar power serving as a supplement.
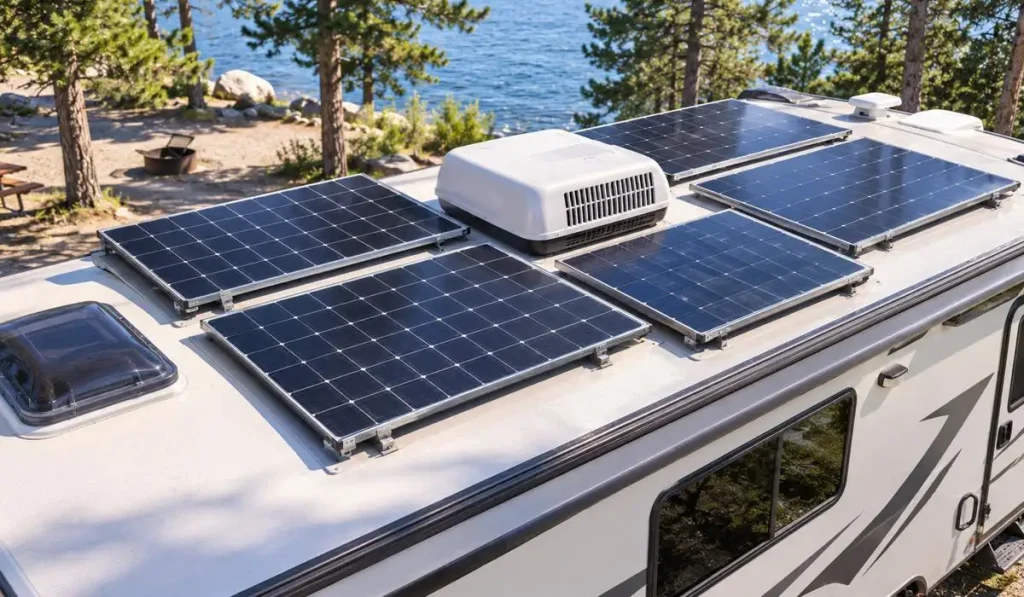
Installing solar panels on the roof is the most common setup for RVs. However, you can’t simply cover the entire roof with panels. RV roofs are often curved and may have air conditioner units, antennas, and exhaust fans that take up space. Panels must be positioned around these obstacles, while also accounting for potential shading. That’s why RV rooftop installations typically favor several smaller panels arranged in sections rather than trying to squeeze in one large panel.
What Type of Battery Is Best for a Solar Charging RV?
Lead-acid batteries are affordable and durable, but you can only use about half of their rated capacity. For example, a lead-acid battery rated at 1,200Wh provides only around 600Wh of usable energy. Repeated deep discharges can also significantly shorten its lifespan. It requires regular electrolyte checks and proper ventilation, and its charging efficiency is relatively low, with around 15% to 20% of the electricity generated by solar panels lost during charging. I once met an RV owner who used two 1,200Wh lead-acid batteries with a 300W solar panel. After a full day of charging, the batteries powered the refrigerator and lights overnight, but their voltage had already dropped below 12V by the next morning. The problem wasn’t insufficient solar panel capacity. It was that only half of the lead-acid batteries’ rated capacity was usable, and charging losses meant much less energy was actually stored than expected.
LiFePO4 batteries cost more, but they offer nearly 90% to 100% of their rated capacity as usable energy, several times the cycle life of lead-acid batteries, and a lighter weight. With the same rated capacity of 1,200Wh, a LiFePO4 battery can provide more than 1,000Wh of usable energy. It also has higher charging efficiency, allowing it to store nearly all the electricity generated by solar panels. That same customer later switched to a 1,200Wh LiFePO4 battery paired with a 200W solar panel. With the same refrigerator and lighting setup, the battery voltage was still above 13V the next morning, with enough power left to charge his phone and laptop. As he put it, “I wish I’d switched to lithium batteries from the start. The hassle I saved was worth more than the price difference.”
AGM batteries are an improved version of lead-acid batteries. They are sealed, maintenance-free, and more resistant to vibration, but they are still fundamentally lead-acid batteries. Their limitations in usable capacity and cycle life remain. They are suitable for occasional use on a limited budget, but are not the best choice for RVs that rely on solar charging regularly.
If you frequently rely on solar power to charge your RV battery, want to store as much of the generated electricity as possible, and prefer to avoid regular maintenance, LiFePO4 is a good choice. You can also consider a capacity of 2,000Wh or more. If you’re on a tight budget and don’t use your RV very often, lead-acid or AGM batteries can still work, provided you’re willing to accept roughly half the rated capacity as usable and a shorter lifespan.
How Much Solar Power Does Your RV Battery Need?
The right solar panel size for your RV depends mainly on how much electricity you use each day. The job of your solar panels is to replace the energy your battery consumes daily. If they can generate enough to cover your usage, you’re all set. If not, your battery level will continue to drop day after day.
Take my own RV as an example. Two people use it, and our electricity consumption is fairly average. The refrigerator is a compressor model that runs for about 8 hours a day, consuming around 0.4kWh. We have four LED lights that run for 4 hours each evening, using approximately 0.04kWh. Two phones and one laptop consume around 0.2kWh per day. The water pump and exhaust fan are used occasionally, adding about 0.1kWh. In summer, we also use a small fan, which consumes roughly 0.15kWh. That brings our total daily consumption to around 0.9kWh. In winter, if we add an electric blanket (50W for one person, used for 8 hours while sleeping), that’s another 0.4kWh, bringing the total to approximately 1.3kWh. So without the electric blanket, our daily consumption is only around 1kWh.
Now that we know how much electricity our RV uses each day, how much solar power do we actually need to keep the battery charged? The goal is to replace the 0.9–1.3kWh consumed daily. Since RV solar panels are mounted flat on the roof and their angle cannot be adjusted, factors such as shading, dust, and cable losses also need to be considered. A practical estimate is that actual power generation will be around 70%–75% of the panels’ rated output. Assuming an average of 4 peak sun hours per day, a 200W solar panel can generate approximately:
200W × 4h × 0.75 ≈ 600Wh per day.
Based on this estimate, a daily consumption of 0.9kWh requires about 1.5 200W panels, which rounds up to 400W. For daily consumption of 1.3kWh (when using an electric blanket in winter), you’d need about 2.2 panels, or 600W. So for my RV, a solar setup of 400W–600W makes sense. A 400W system is sufficient in summer, while 600W provides a more reliable supply in winter or when electricity consumption is higher.
However, there’s another factor to consider: battery capacity. If your battery is only 1,200Wh, pairing it with 600W of solar panels means that on a sunny day, the panels could generate 1.8kWh, more than the battery can store. The excess energy would go unused. On the other hand, a battery capacity of 2,000Wh–3,000Wh is a better match for a 400W–600W solar setup. Ideally, daily solar generation should be close to, but not exceed, the battery’s usable capacity to avoid wasting energy.
How Long Does It Take to Charge an RV Battery with Solar Panels?
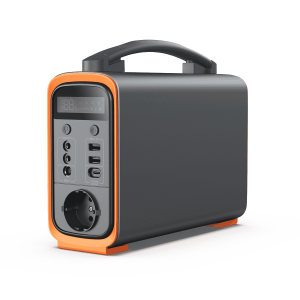
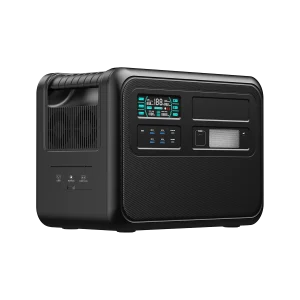
Let’s use my own RV as an example again. I use a standalone 2,000Wh LiFePO4 portable power station paired with 400W of solar panels. We’ll assume an average of 4 peak sun hours per day.
With 4 peak sun hours, a 400W solar panel setup can generate approximately:
400W × 4h × 0.75 ≈ 1,200Wh per day.
If the battery needs to go from empty to full, it must receive 2,000Wh of energy. Allowing for charging losses, the actual input required is around 2,200Wh. At a daily generation rate of 1,200Wh, it would take roughly two days to charge from empty to full. In practice, however, as long as you charge the battery in advance, it’s unlikely to run completely flat. With daily electricity consumption of 0.9–1.3kWh, the battery usually has plenty of capacity left. The energy replenished during the day is generally enough to cover that night’s usage, so there’s no need to wait until the battery is fully charged.
If the battery starts at a relatively low level, say 20%, it needs approximately 1,600Wh to reach full capacity. At a generation rate of 1,200Wh per day, it would take about a day and a half. However, this assumes ideal conditions in which the battery is charging throughout the day. In reality, most solar charging takes place during the roughly four hours of effective sunlight, while power generation is much lower during the rest of the day. Charging from 20% to 80% (approximately 1,200Wh) requires around four peak sun hours, which fits within a typical sunny day’s charging window.
If daylight hours are shorter or the sun is lower in the sky, peak sun hours may drop to just two or three hours, reducing daily generation to around 600–900Wh. If you’re also using an electric blanket in winter, daily consumption rises to 1.3kWh. The solar panels may then generate just enough electricity to cover that day’s usage, leaving little or nothing to recharge the battery. At that point, the problem isn’t that charging is slow; it’s that the energy going into the battery is being used up almost immediately. As a result, the battery can remain at a low charge level for an extended period. In winter, you’ll need to reduce your electricity consumption, install more solar panels, or recharge the battery using your RV’s alternator.
How to Prevent Overcharging and Maintain Your RV Battery
When charging an RV battery with solar power, overcharging can be a more serious problem than not fully charging it. An undercharged battery simply means you may not have enough electricity to use, while overcharging can directly damage the battery and shorten its lifespan. In severe cases, it can also cause overheating and swelling. This issue is particularly important in an RV, where solar panel output fluctuates with sunlight, and charging from the alternator, campground shore power, and solar panels may all happen at the same time. Without a coordinated charging system, the battery can easily receive more power than it should.
When lead-acid batteries are overcharged, the electrolyte breaks down faster and produces gas. This means more frequent water refills and accelerated plate corrosion. With LiFePO4 batteries, the BMS triggers overvoltage protection when the battery is overcharged. However, if the charge controller is set to a voltage higher than the BMS protection threshold, the battery may repeatedly cycle between fully charged, protection mode, and recovery. Over time, this can lead to noticeable capacity loss. I once encountered an RV owner whose charge controller was still set to lead-acid mode after switching to a LiFePO4 battery. The charging voltage was too high, and the battery lost nearly 20% of its capacity within six months.
In an RV solar system, the charge controller is responsible for reducing or cutting off charging current when the battery is full. An MPPT controller allows you to configure the charging profile according to the battery type. Lead-acid, AGM, and LiFePO4 batteries each have different absorption and float voltages. With the correct settings, the controller automatically switches to float charging once the battery is full, rather than continuing to push in a high charging current. If the settings are wrong—for example, if a LiFePO4 battery uses lead-acid charging parameters—the risk of overcharging increases. So whenever you change battery types, the first thing you should do is update the charge controller settings.
Solar panels aren’t the only charging source in an RV. The alternator charges the battery while you’re driving, shore power charges it when you’re connected to a campground hookup, and solar panels can charge it at the same time. If these three sources aren’t coordinated, the battery may receive high charging currents from multiple sources simultaneously, potentially exceeding its allowable charge rate. One solution is to ensure that the charge controller communicates with or is electrically isolated from the RV’s existing charging system. At the very least, you can stagger the charging sources manually. For example, when connected to shore power, you could set the solar controller to a lower-power mode.
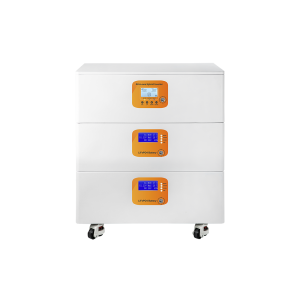
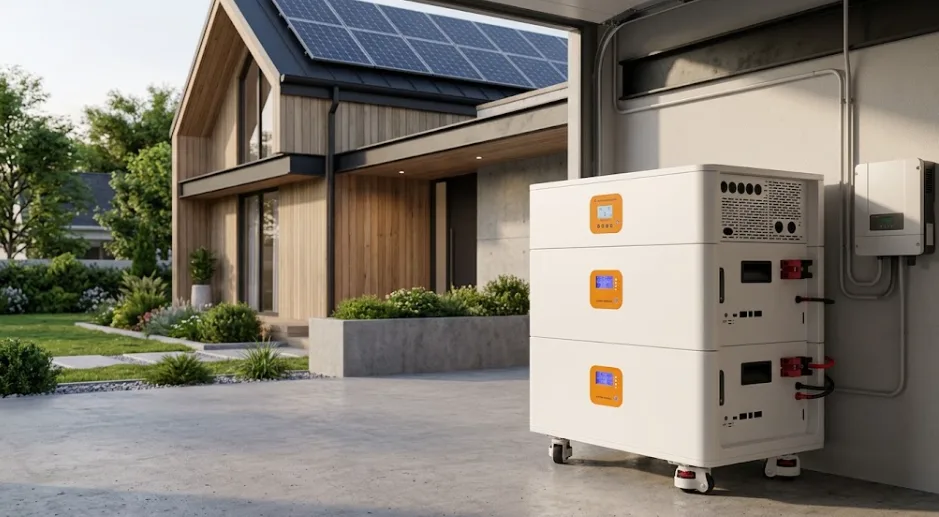
LiFePO4 batteries don’t require regular electrolyte checks like lead-acid batteries, but their terminals should still be inspected periodically. RVs experience considerable vibration while driving, and loose terminals can increase electrical resistance, causing heat buildup during charging. In severe cases, the terminals may burn out. You should also inspect the waterproof seals around solar panel cable entry points. Water intrusion can cause short circuits or charge controller failures. In addition, if you plan to store your RV for an extended period, avoid leaving the battery fully charged. Keeping a LiFePO4 battery at around 50%–60% charge is better for long-term storage and battery lifespan.Piforz portable power stations and off-grid inverters have built-in BMS and charging management systems that support LiFePO4 charging profiles. Overcharge protection is provided by both the BMS and the charge controller. Also, if your RV uses both alternator charging and solar charging, we recommend setting a charging priority in the controller, with solar as the primary source and alternator charging as a backup. This helps prevent both sources from supplying high charging currents at the same time. These settings aren’t complicated, but checking them periodically after installation can make a noticeable difference in battery lifespan.