An off-grid solar system, as the name suggests, operates completely independently of the utility grid. It generates its own electricity, stores it in batteries, and supplies power to all your appliances using a self-contained solar energy system.
Whether you’re turning your RV into a mobile home, bringing electricity to a remote cabin deep in the woods, or living in a place like Texas (where a single thunderstorm can knock out the power grid), building an off-grid solar system is a worthwhile investment.
But don’t worry—you don’t need to be an electrical engineer to make it work. By reading this guide, you’ll learn exactly what components an off-grid solar system needs, which ones are truly worth investing in, which ones are just marketing gimmicks, and how to design and install the most cost-effective and safest system.
1. What Components Make Up an Off-Grid Solar System?
Solar Panels
Solar panels convert sunlight into direct current (DC) electricity.
The three most common types of solar panels on the market are:
Monocrystalline Panels: The most efficient option, producing the most electricity from the same surface area. They’re also the most expensive, making them the top choice for off-grid systems.
Polycrystalline Panels: Slightly less efficient than monocrystalline panels but more affordable. They’re a good option if you’re on a tight budget.
Thin-Film Panels: Lightweight and flexible, making them ideal for RV roofs or irregularly shaped surfaces. However, their efficiency is relatively low.
Charge Controller
A charge controller prevents your battery from overcharging and also stops electricity from flowing back into the solar panels at night.
There are two main types:
PWM (Pulse Width Modulation): Affordable, durable, and perfectly adequate for small solar systems.
MPPT (Maximum Power Point Tracking): More expensive, but significantly more efficient. With the same solar panel, an MPPT controller can harvest up to 30% more energy than a PWM controller. If your budget allows, don’t overthink it—go with MPPT. The extra energy you’ll generate is usually worth far more than the price difference.
Battery Bank
This is the heart of the entire system.
Any electricity your solar panels generate during the day but don’t immediately use is stored in the battery bank, ready to power your home at night, on cloudy days, or during a power outage.
There are many battery technologies available, but for off-grid solar systems, the two primary options are:
Lead-Acid Batteries: Inexpensive, but they’re heavy, bulky, have a relatively short lifespan (typically 3–5 years), and require regular maintenance, such as topping up with water. Unless you’re working with a very limited budget, I generally don’t recommend them.
Lithium Batteries (Specifically LiFePO₄): According to the latest data from BloombergNEF, the cost of LiFePO₄ battery cells has fallen to $60–80/kWh. Although the upfront cost of lithium batteries is typically 2–3 times higher than that of lead-acid batteries, their 10-year total cost of ownership (TCO) is actually 20–40% lower, thanks to their much longer cycle life and virtually maintenance-free operation.
Inverter
The electricity stored in your battery is direct current (DC), but household appliances like refrigerators, TVs, computers, and microwave ovens all run on alternating current (AC). That’s why you need an inverter to convert DC power into AC power.
There are two main types of inverters: pure sine wave and modified sine wave. There’s really no point trying to save money here—just go with a pure sine wave inverter. It produces electricity with the same waveform as the utility grid, making it compatible with virtually all appliances. Sensitive equipment such as computers and medical devices should always be powered by a pure sine wave inverter.
Other Components
Mounting Racks: Secure the solar panels to your roof or a ground-mounted structure.
Cables: Connect all the components together. Don’t cheap out on undersized cables—if the wire gauge is too small, it can overheat or, in the worst case, cause a fire.
Fuses and Circuit Breakers: Essential safety devices that automatically cut off power when the current becomes too high.
Disconnect Switches: Allow you to safely isolate parts of the system during maintenance or repairs.
Distribution Panel: Keeps all your wiring organized and distributes power throughout the system.
Grounding Rod: Connects the system to the earth to protect against lightning strikes and electrical faults. In North America, this is a mandatory requirement, and without proper grounding, your insurance may not cover any related damage.
Tools (For DIY Installations): Screwdrivers, pliers, wire strippers, crimping tools, wrenches, socket wrenches, a multimeter, and a power drill.
2. How to Design and Build an Off-Grid Solar System
Now that you understand the components required for an off-grid solar system, it’s time to look at how to design and build one.
Step 1: Calculate How Much Electricity Your Home Uses Per Day
Power (W) × Usage time (h) = Daily energy consumption (Wh)
Let’s take my home as an example:
| Appliance | Power (W) | Average Daily Usage | Daily Energy Consumption (Wh) |
| Energy-efficient refrigerator | 80 | 24 hours (compressor runs ~8h) | 640 |
| Laptop | 60 | 5 hours | 300 |
| LED lights × 5 | 10×5 = 50 | 6 hours | 300 |
| WiFi router | 15 | 24 hours | 360 |
| 55-inch TV | 100 | 4 hours | 400 |
| 3 mobile phone chargers | 15 | 3 hours | 45 |
| Microwave oven | 1000 | 0.5 hours | 500 |
| Total | — | — | ~2.5 kWh (2500 Wh) |
When choosing your battery capacity, don’t calculate it too precisely. It’s better to add an extra 20% buffer on top of this estimate—after all, having extra “reserves at home” gives you peace of mind.
Step 2: Estimate How Large Your Solar Panels Should Be
When people start researching off-grid solar systems, the first question they often ask is: “How many solar panels do I need to go completely off-grid?”
In reality, there is no fixed answer. Some households may need around 10 panels, while others may require 20 or more. It all depends on how much electricity your home uses each day, where you live, and how strong the sunlight is in your area.
In one of my previous articles about how much electricity a solar system can generate per month, I mentioned a key concept: peak sun hours. This refers to the number of hours per day when sunlight is at its strongest. The efficiency of your solar panels is directly related to this factor.
The peak sun hours vary significantly by region. In the United States, for example:
- Sun Belt states (Arizona, New Mexico, Nevada): 6+ hours
- Mid-range regions (Texas, Florida, North Carolina): around 4.5 to 5.5 hours
- Northern states: around 3 to 4 hours
It is recommended that you check the exact data for your location using NREL’s PVWatts, a free online tool.
The formula to calculate the total solar panel capacity is:
Total daily energy consumption (Wh) ÷ Peak sun hours (h) ÷ System efficiency (around 0.6) = Required solar panel capacity (W)
For example, if your home uses 3 kWh of electricity per day and you live in Texas, then based on this formula, you would only need about 1200 watts of solar panels (assuming a system efficiency factor of 0.6).
Of course, this is just a reference. You should calculate your actual solar panel requirements based on your real household energy consumption and local sunlight conditions.
Step 3: Estimate the Required Energy Storage System Size (Battery + Inverter + MPPT)
This is the most critical part of the entire off-grid solar system. Modern energy storage systems are generally designed to be user-friendly and highly integrated. They usually combine the battery bank, inverter, and MPPT charge controller into a single unit, and are equipped with a monitoring system that allows you to track real-time data such as power generation, battery health, and energy consumption. In other words, you just need to know how to choose the right specifications.
When selecting a battery system, you need to consider two key factors:
Battery capacity
This is based on how much electricity your household uses per day (which we calculated earlier), and how many days of autonomy you want the system to support. For most households, the battery bank should be able to support 2–3 days of usage. After all, weather is unpredictable—cloudy days or even continuous rain for one or two days are quite common. Relying on constant sunshine is unrealistic.
Battery type
If I had to recommend one, it would definitely be LiFePO₄ (lithium iron phosphate) batteries. LiFePO₄ batteries typically allow a depth of discharge (DoD) of 80–90%, while lead-acid batteries are usually limited to around 50%.
Depth of discharge is extremely important for off-grid users. A battery with low usable capacity means that once you reach a certain level of usage, the remaining energy is essentially unusable—even though it is still “there.” That’s frustrating in real-world use.
When selecting an inverter, you also need to consider two key factors:
Continuous power
This refers to the total power of all appliances running at the same time. In my case, it’s roughly around 1,300W. Although it’s unlikely that everything will run simultaneously, I still prefer to size it conservatively at 2,000W or above for safety.
Surge (peak) power
This is where many systems fail. Appliances with motors—such as air conditioners, refrigerators, and water pumps—can draw 3 to 5 times their rated power at startup. For example, an 800W window air conditioner can easily spike above 3,000W when starting up. If the inverter cannot handle this surge, it may trip or shut down immediately.
You can use this formula:
Daily energy consumption (Wh) × Number of days ÷ Depth of discharge (DoD) = Required battery capacity (Wh)
I use a DoD value of 0.8. Based on this, the required battery capacity for my current setup is about 7.5 kWh, which is a fairly moderate configuration.
However, following the principle of “better safe than sorry,” I ultimately chose a system with a 5kW inverter and a 10kWh battery capacity.

3. How Much Does It Cost to Build an Off-Grid Solar System?
The cost of building a complete off-grid solar system can vary widely. Some people may only spend a few thousand dollars, while others may end up investing tens of thousands. So what’s driving this huge difference? Let’s break it down.
Before I installed my own off-grid solar system, I made a comparison like this:
| Comparison | Buy Components Yourself + Hire an Installer | Full DIY | Turnkey Installation |
| Total cost (5kW system) | About $12,000–$17,000 | About $7,200–$10,800 | About $15,000–$25,000 |
| Installation | The solar installer handles the rooftop panels, while a licensed electrician installs the battery storage system. | You are responsible for everything—the rooftop installation, electrical work, permits, and inspections. | The installer handles virtually everything. You simply pay and inspect the completed system. |
| Space | You can choose where to place the battery modules, making the setup neater and more organized than a DIY installation. | Cables and equipment may end up spread throughout the space, making it look cluttered. | The company professionally plans the cable routing and layout, resulting in a clean installation. |
| Expandability | The battery system can be expanded with additional modules, and more solar panels can be added later if needed. | You can expand or modify the system however you like. | Future expansion usually requires signing a new contract and paying additional installation fees. |
| Permits | You’ll need to help submit the required paperwork, but the electrician can usually assist with the process. | You must handle everything yourself, including the AHJ, fire department approvals, and insurance requirements. | The installation company takes care of the entire permitting process. |
| Safety | The rooftop solar is installed by professionals, and the battery wiring is completed by a licensed electrician, making it a relatively safe option. | Safety depends entirely on your own technical knowledge and workmanship, so the risk is significantly higher. | Installed by a professional team according to code, with inspections, offering the highest level of safety. |
| Warranty | Solar panels are covered by the manufacturer’s warranty, the battery system has its own manufacturer warranty, and the electrician provides an installation warranty. | You’re largely on your own. If equipment fails, you’ll need to contact the manufacturer yourself, and you’re responsible for any installation issues. | The turnkey installation company handles the overall warranty and after-sales support. |
The most expensive part of an off-grid solar system is the energy storage (battery) system.
I’m someone who really hates hassle, so I completely rejected the DIY approach. However, full-service turnkey solutions are quite expensive, and upgrading or expanding the battery system later can be inconvenient and costly. In the end, I chose a hybrid approach: buying the components myself and hiring professionals for installation.
The breakdown of the costs looked roughly like this:
- Solar panels + rooftop installation: I bought 10 solar panels (about 5kW) for around $2,000–$3,000, with installation costing an additional $1,500–$2,000. I left this part entirely to the installation company because I didn’t want the hassle, and it also came with a warranty.
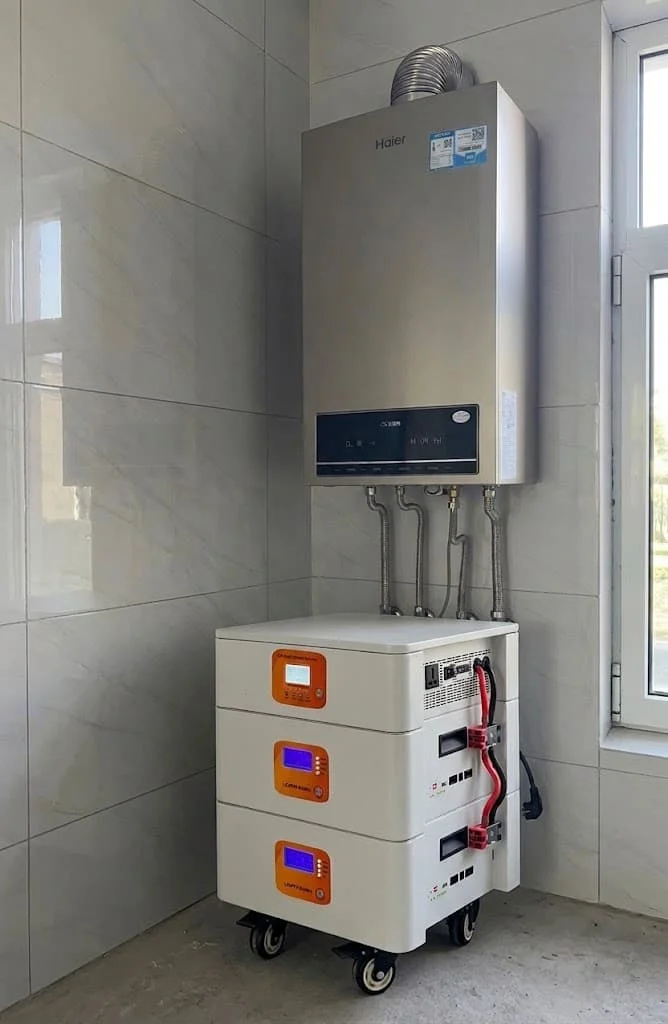
- Energy storage system: A 10kWh stackable battery system with a 5kW inverter from Piforz. I purchased it myself for around $1,500.
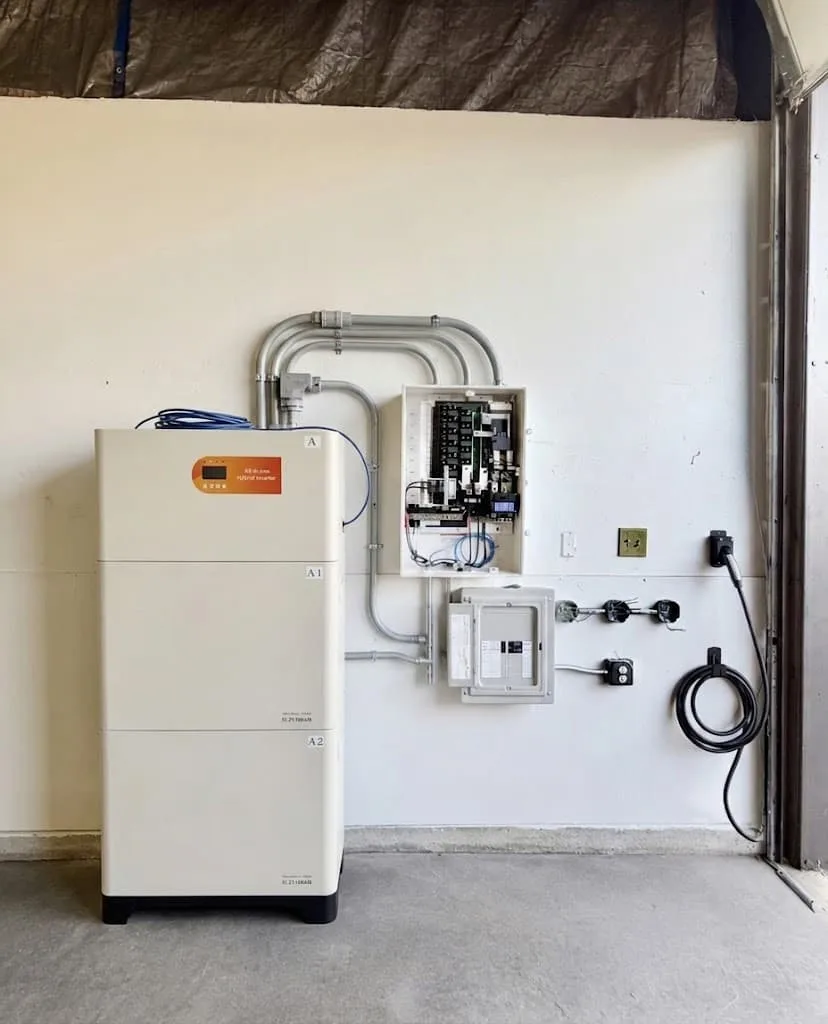
- Electrician’s wiring fee: I hired a licensed electrician to connect the energy storage system to the main electrical panel and the solar array. Electricians typically charge around $150–$200 per hour, although actual rates vary depending on your location.
4. What Mistakes Did I Make?
1. Battery failure:
This is exactly where people most easily fall into traps. From what I’ve seen, most off-grid system failures actually come from the battery side. Once the battery fails, the whole system goes down—and a battery failure is basically permanent. You can only replace it, not repair it.
When I first set up a home energy storage system, I tried to save money and bought a second-hand lead-acid battery. It worked fine for the first three months, but after that the usable capacity kept dropping. A battery rated at 10 kWh could barely deliver 4 kWh after half a year. What used to support two days of cloudy weather could no longer even last a single day.
Later, I dug into it and realized that lead-acid batteries have a “declining capacity” characteristic (technically known as the Peukert effect). The harder you discharge them, the less usable energy you actually get. On top of that, frequent charge and discharge cycles easily cause plate sulfation. In practice, they’re more like a “consumable” item—once they degrade, repairing them isn’t really worth it.
After doing the math, I found that while lead-acid batteries are cheaper upfront, their lifespan is only about 2–3 years, and their usable capacity keeps shrinking over time. LiFePO4 batteries, on the other hand, may cost more initially, but they can last 8–10 years—or at least 7–8 years with stable performance.
Most importantly, LiFePO4 batteries support a depth of discharge of around 80%–90%, while lead-acid batteries are typically limited to about 50%. That means a 10 kWh LiFePO4 battery gives you about 8–9 kWh of usable energy, while a 10 kWh lead-acid battery only gives you about 5 kWh in practice.
In the long run, when you calculate total ownership cost, LiFePO4 systems are actually about 40% cheaper. Plus, they require no maintenance. Over time, LiFePO4 is simply far more worry-free.
2. Enough power in summer, but not enough in winter:
This is exactly one of the most common pitfalls. From what I’ve seen on Reddit discussions, a lot of people run into the same problem: “My system worked perfectly in summer, but in winter it can’t keep up—what should I do?”
I’ve been through this myself. When I first bought solar panels, it was summer, so I sized my system based entirely on peak summer sunlight conditions. But once winter came—shorter daylight hours, more cloudy days—the actual generation simply wasn’t enough to support normal household demand.
After talking with friends in the solar industry, I finally understood something important: in winter, it’s not just about shorter sunlight hours. There’s another factor people often ignore—the sun’s lower angle. Light hits the panels more obliquely, which reduces overall generation efficiency.
After that, I changed my approach. Instead of using annual average solar data, I always size my system based on the worst winter month. I also added a small backup generator at home just in case.
I strongly recommend going to the National Renewable Energy Laboratory (NREL) and using the PVWatts tool to pull full-year solar data for your location. Focus specifically on December and January.
Then, either oversize your solar array by about 20% as a buffer, or keep a small backup generator as a fallback solution.
3. Inverter can’t handle the load:
I’ve talked about this issue quite a few times before—long-time readers might remember it.
I once made a classic mistake. When calculating total power usage, I added everything up and got around 2,000W, so I bought a 3,000W inverter, thinking I had a solid 50% buffer, which should be more than enough.
But the very first time I turned on the air conditioner in summer, the inverter tripped immediately and shut down.
Later I checked the manual carefully—and realized my inverter’s surge power was only 3,500W, while the air conditioner had a startup surge of 3,800W. It was just a small difference, but it was enough to knock my whole house offline.
So my advice is: when you’re buying an inverter—or choosing an energy storage system that already includes one—make sure you carefully check the datasheet for both the rated power and the peak surge power of the inverter.
If your home has high-power appliances like air conditioners, you should pay extra attention. When selecting an inverter, the peak power should ideally be at least 5 times higher than the rated power of your largest appliance.
4. Wiring connector aging:
This is another important warning I want to share.
Over time, rooftop solar panels can get partially blocked by leaves, strong winds may loosen mounting bolts, fuses can blow, and wiring connectors can become loose.
Last fall, I inspected my roof and found that two panels were producing noticeably less power than the others. When I climbed up to check, I discovered slight burn marks on the MC4 connectors, and the metal contacts inside had started to oxidize.
I ended up re-crimping all the system connectors and replacing them with waterproof junction boxes before I felt comfortable again.
The truth is, aging electrical connections can potentially become a fire hazard. So regular inspection and cleaning is strongly recommended.
5. Common Questions About Off-Grid Solar Systems
Why is living off-grid illegal?
Living off-grid itself is absolutely not illegal. What can become illegal is building violations and electrical work that doesn’t comply with local regulations.
Take the United States as an example. There is no federal law that prohibits generating your own electricity or disconnecting from the utility grid. You are completely allowed to install solar panels in your own yard and store and use your own power.
However, if your house does not have proper building permits (whether it is legally classified as a “habitable dwelling”), or your electrical wiring does not comply with NEC standards, or your wastewater and drinking water systems fail health regulations, then it can be considered a violation. This may result in fines and even insurance claim denials.
That’s why I strongly recommend checking with your local AHJ (Authority Having Jurisdiction) in advance to understand what permits and standards are required for installing an off-grid solar system.
Do I need a 12V and 24V system for off-grid living?
If you’re living in an RV, go with 12V. If it’s a small cabin, 24V is a good choice. For an entire house, you should go with 48V.
The basic principle is simple: at the same power level, higher voltage means lower current, which allows for thinner, cheaper, and safer wiring.
In practice, this is how the setups usually break down:
- RV / camping (< 1,000W): 12V — cheapest components, easy to find, very cost-effective
- Small cabin (1,000W–3,000W): 24V — reduced current, more balanced and practical
- Whole-house system (> 3,000W): 48V — safest option, and also the standard input voltage for most modern off-grid inverters, offering more system choices and better scalability